Solar Panel Setup for Van Life: Complete Guide
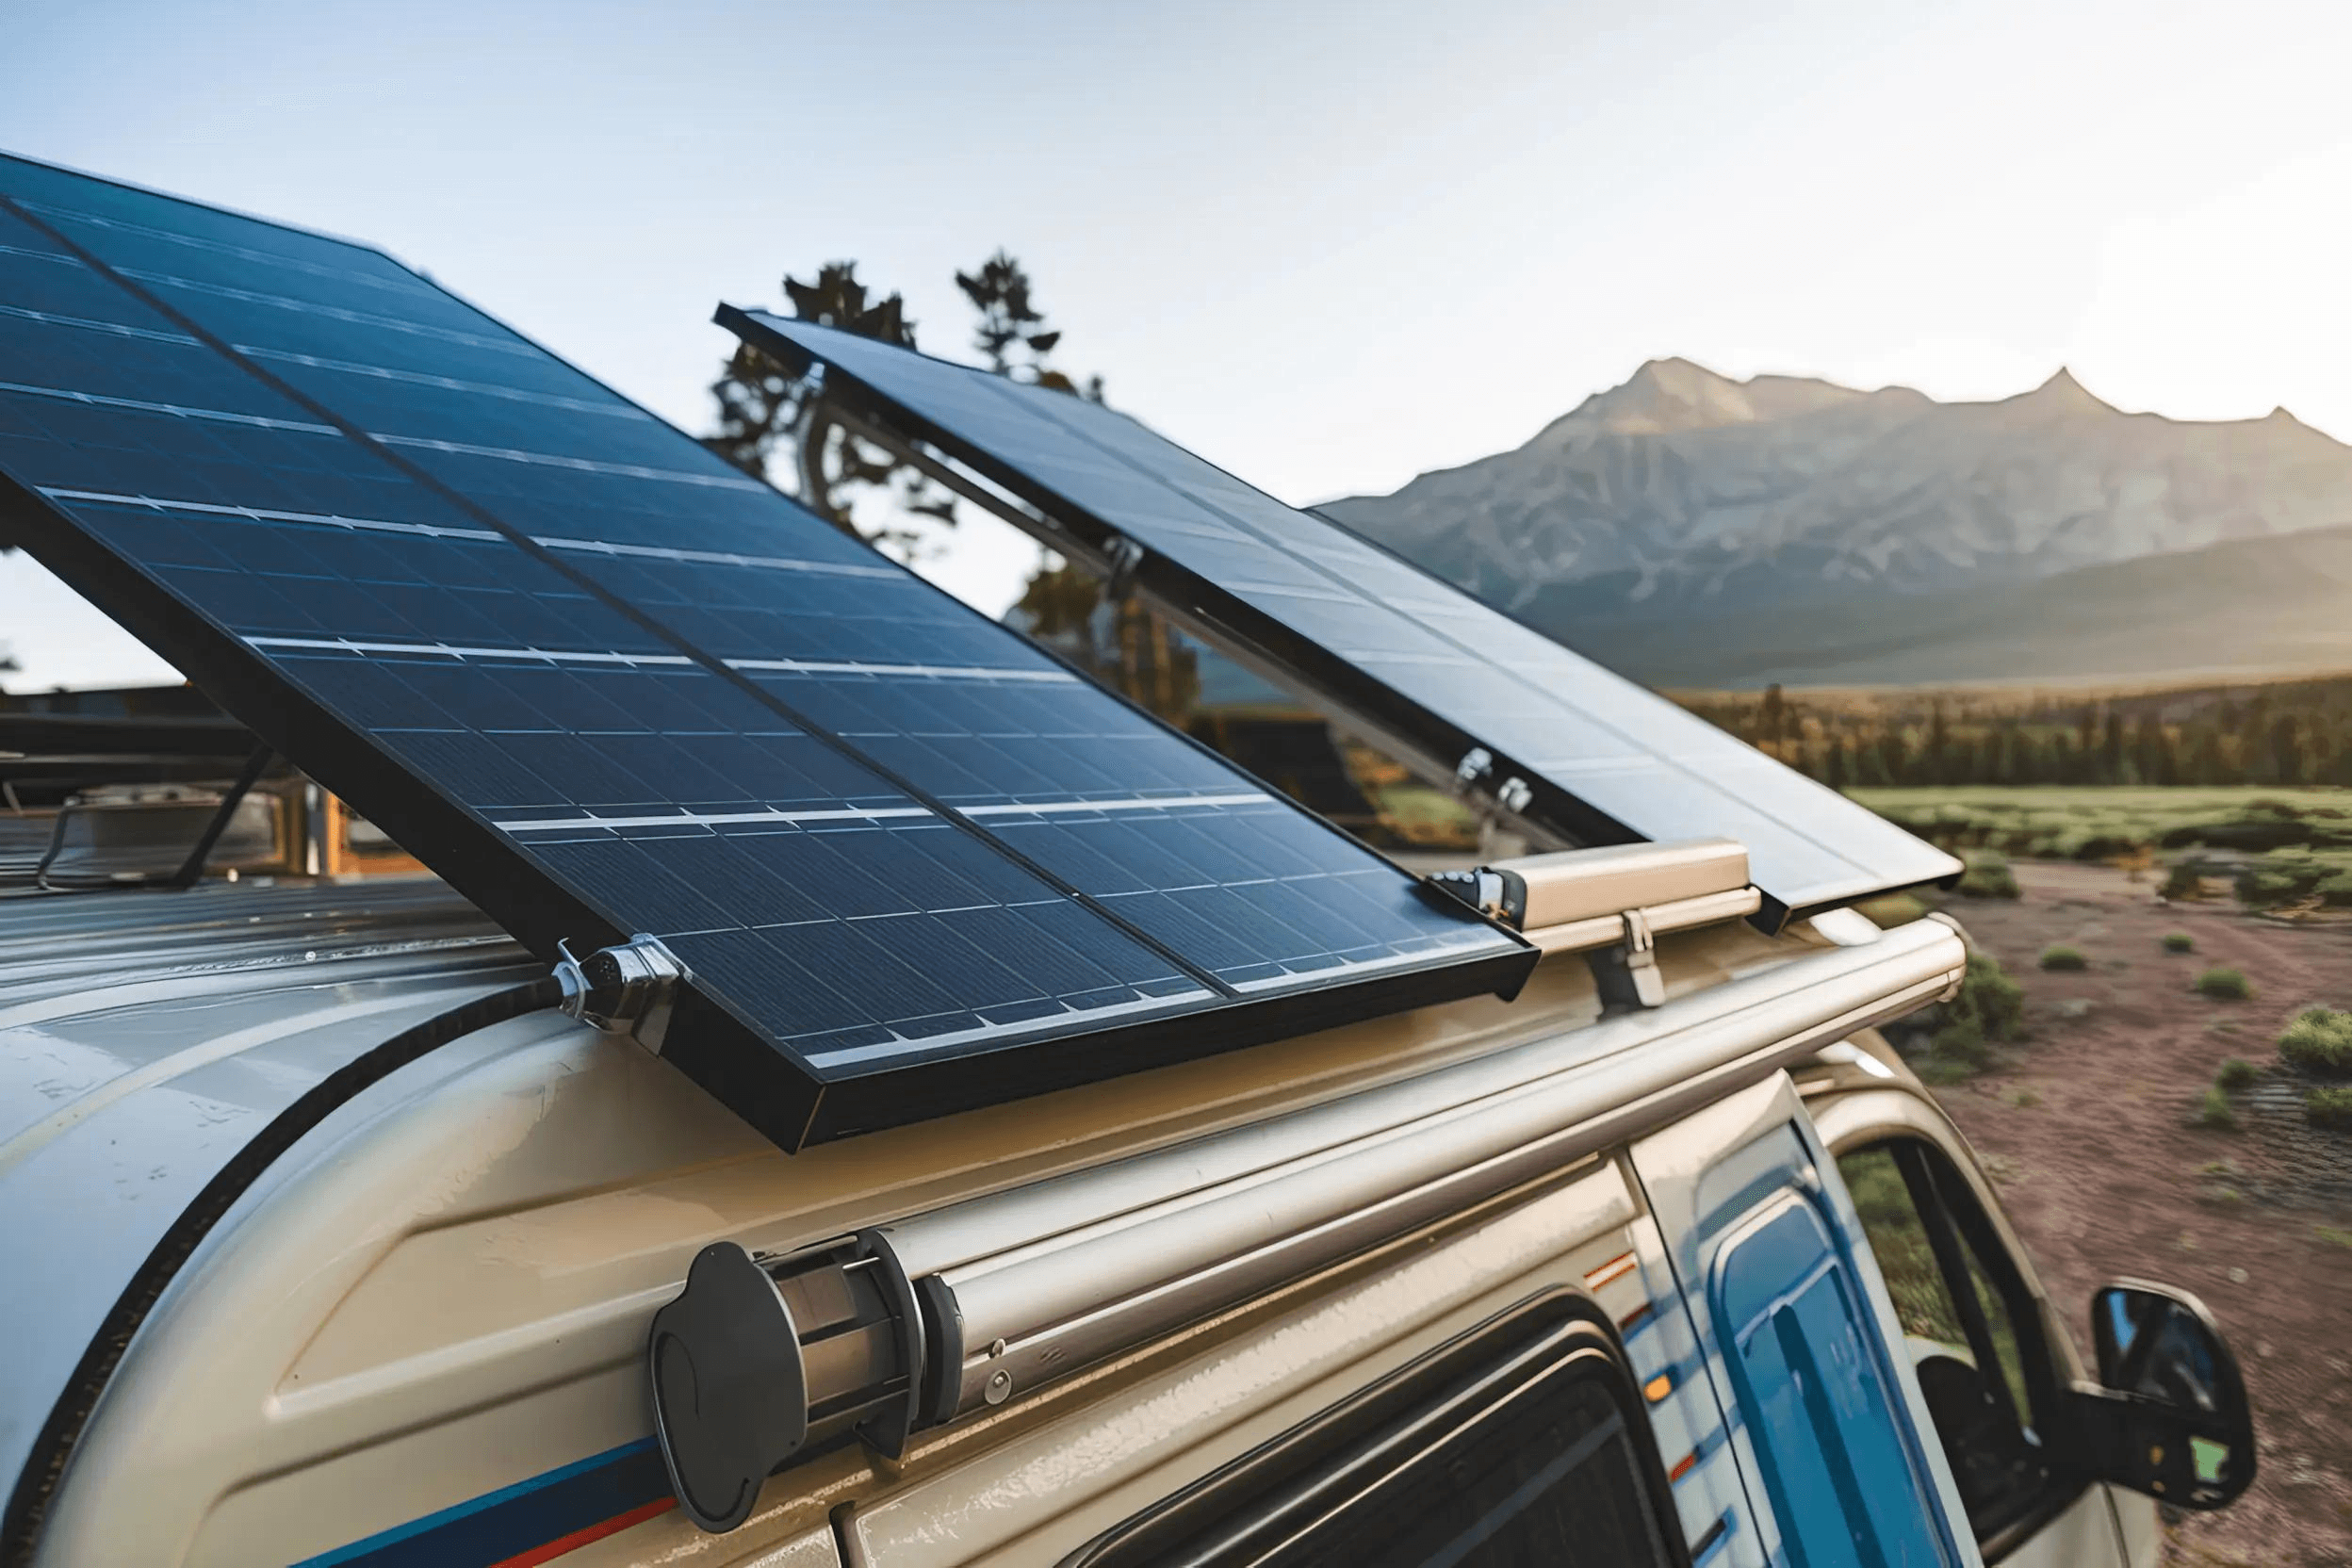
Photo by [Lunex Power](https://www.lunexpower.com). Licensed for editorial use.
Solar Panel Setup for Van Life: Complete Guide
We burned out our first charge controller because we didn't understand the difference between PWM and MPPT. That's a $40 mistake we made so you don't have to. Solar panel setup for van life seems straightforward until you're on the roof with a drill, cable ties in your teeth, and a growing suspicion that you should have hired someone. We didn't hire someone. We learned it ourselves, and this guide is the result of two years, three panels, and enough wire crimps to fill a shoebox.
How Much Solar Power Do You Need?
Before you buy anything, calculate what you actually use. Most people buy more solar than they need because they're afraid of running out of power. We did the same thing, then realized a 200-watt system keeps up with our daily usage just fine in most conditions.
Here's what we run in a typical day and what it draws:
| Device | Watts | Hours/Day | Watt-Hours |
|---|---|---|---|
| LED lights | 5W | 4 | 20 |
| Phone charging (x2) | 10W | 3 | 30 |
| Laptop | 60W | 3 | 180 |
| 12V fridge (ARB) | 45W avg | 24 (cycling) | 540 |
| MaxxAir fan | 5W | 6 | 30 |
| Water pump | 60W | 0.5 | 30 |
| Total daily | ~830 Wh |
That 830 watt-hour daily number is our baseline. To generate that much power, you need roughly 170 watts of solar in good conditions (about 5 peak sun hours). We round up to 200W to account for cloudy days and panel angle inefficiency.
If you're running a microwave, air conditioner, or induction cooktop, you're in a different league entirely and will need 400W or more with a substantial battery bank. Most van lifers don't run those appliances. The ones who do usually pair solar with shore power or a generator.
One thing worth knowing: your battery capacity matters more than your panel wattage. A 200W panel charges a dead 100Ah lithium battery in about 6 hours of full sun. The same panel barely touches a 200Ah bank in the same time. Size your battery for your overnight needs, then size your panels to recharge it during the day.
Types of Solar Panels for Vans
There are three types you'll encounter, and each has a legitimate use case.
Monocrystalline rigid panels are the standard choice for van roofs. They're the most efficient (18 to 22 percent efficiency), durable, and relatively affordable. A quality 100W monocrystalline panel from Renogy or HQST costs $80 to $130. They're heavy (about 15 pounds for a 100W panel) and rigid, so they mount flat on the roof with Z-brackets. This is what we use and what most van lifers use.
Polycrystalline rigid panels are cheaper but less efficient (15 to 17 percent). You need more roof space for the same wattage. They're fine for a budget build but we'd only recommend them if you have a large roof and the panel cost savings matter more than space efficiency.
Flexible panels are the lightweight option, weighing 4 to 6 pounds for 100W. They bend to match a curved van roof and create less wind resistance. The trade-off is lower efficiency (12 to 16 percent), shorter lifespan, and they run hotter, which reduces output. We tested a set of flexible panels for six months and they degraded noticeably. We'd stick with rigid panels unless your roof is curved or weight is a critical concern.
Brands we'd recommend without hesitation: Renogy, Rich Solar, and HQST. We've used all three and they perform similarly. Avoid no-name Amazon panels unless you're comfortable with the risk of lower actual wattage output than advertised. We bought a "200W" no-name panel that produced 140W at best.
Step-by-Step Solar Installation Guide
How much would van life cost you? Check your state
Try the Cost CalculatorFree · Based on 2026 real data · All 50 states
Free · 2026 data · All 50 states
Here's the process we followed for our 200W system. It took us a full weekend with basic tools.
Step 1: Plan your roof layout. Measure your available roof space and decide on panel placement. Two 100W panels side by side is the most common layout. Mark the position with tape before drilling anything. Leave at least 2 inches between panels for airflow, and keep panels at least 6 inches from roof vents, skylights, and the roof edge.
Step 2: Install roof racks or Z-brackets. Rigid panels mount on Z-brackets that you bolt to the roof. Drill pilot holes through the roof skin, apply butyl tape or Dicor sealant generously around each hole, then bolt the brackets down with stainless steel hardware. Over-tightening cracks the roof skin on some vans. Snug is enough.
Step 3: Mount the panels. Bolt panels to the brackets using the pre-drilled holes in the panel frame. Wire the panels together in series or parallel depending on your charge controller's input specs. Most PWM controllers want parallel wiring. Most MPPT controllers handle series.
Step 4: Run cables into the van. Drill a hole through the roof (or use an existing cable entry point), run your solar cables through a cable gland with sealant, and connect to the charge controller inside. Use 10 AWG wire for runs under 20 feet. Use MC4 connectors for the panel-to-roof connection so you can disconnect panels if needed.
Step 5: Wire the charge controller to the battery. This is the connection that matters most. Use appropriately sized wire (8 AWG or larger for most systems) and keep the run as short as possible. Connect the battery first, then the panels. This order matters because the charge controller needs to see the battery voltage before it can regulate the solar input.
Step 6: Connect your inverter and DC loads. From the battery, run wires to your fuse block. From the fuse block, run individual circuits to your lights, USB ports, fridge, and any 12V accessories. The inverter connects directly to the battery with heavy-gauge wire (2 AWG or larger for a 2000W inverter). Always use fuses or breakers on every circuit. No exceptions.
The most common mistake we see is undersized wire between the charge controller and battery. If that wire is too thin, you lose power to heat and your system underperforms. When in doubt, go one gauge larger than the minimum.
Solar Panel Cost & ROI Calculation
Let's put numbers to this. Here's what our 200W system actually cost:
| Component | Cost |
|---|---|
| 2x Renogy 100W monocrystalline panels | $220 |
| Renogy Rover 40A MPPT charge controller | $140 |
| 100Ah LiFePO4 battery (Redodo) | $250 |
| Wiring, fuses, breakers, MC4 connectors | $80 |
| Z-brackets, hardware, sealant | $40 |
| Total | $730 |
Compare that to what we'd spend on grid power for the same energy: 830 Wh per day times 365 days is 303 kWh per year. At a campground with electric hookup, that's roughly $360 a year in site fees above what you'd pay for boondocking. The system pays for itself in about two years if you switch from paid hookups to free boondocking.
The real ROI is freedom, though. Our solar setup means we can camp anywhere without thinking about power. We've spent weeks at a time boondocking near Enchanted Rock, TX without needing to plug in once. That kind of flexibility is worth more than the money saved.
Best Solar Setups by Budget
Here are three complete system configurations at different price points:
| Budget Build ($500) | Mid-Range ($1,000) | Premium ($2,000) | |
|---|---|---|---|
| Panels | 1x 100W rigid | 2x 100W rigid | 2x 200W rigid |
| Controller | 20A PWM ($30) | 40A MPPT ($140) | 60A MPPT ($200) |
| Battery | 100Ah AGM ($120) | 100Ah LiFePO4 ($250) | 200Ah LiFePO4 ($500) |
| Inverter | 1000W modified sine ($70) | 2000W pure sine ($180) | 3000W pure sine ($350) |
| Wiring/fuses | $50 | $80 | $120 |
| Daily capacity | ~400 Wh | ~800 Wh | ~1,500 Wh |
| Best for | Weekend trips, minimal electronics | Full-time solo van life | Couples, remote work, heavy use |
The mid-range setup is where we'd steer most people. A 100Ah lithium battery and 200W of solar handles the daily needs of a solo van lifer running a fridge, lights, and laptop. The budget setup works for weekend warriors who can tolerate a cooler instead of a fridge. The premium setup is for people running a business from the road or couples who both need devices charged.
One thing we learned the hard way: don't cheap out on the battery. An AGM battery costs less upfront but only gives you 50 percent usable capacity (you shouldn't discharge below 50 percent). A lithium battery gives you 80 to 90 percent usable capacity and lasts 10 times longer. The lithium battery is cheaper over three years even though it costs more on day one.
For van lifers heading to the Pacific Northwest, the North Carolina rated campgrounds have great forest camping that works well with a mid-range solar setup, while the Black Hills area offers the wide-open sunny skies that let you get the most from any solar system.
Solar Panel Maintenance and Troubleshooting
Solar systems are low maintenance compared to generators, but they're not zero maintenance. Here's what to keep an eye on.
Clean your panels at least once a month when you're in dusty areas. The Southwest puts a film on everything, and a dirty panel can lose 15 to 25 percent of its output. We use a microfiber cloth and a spray bottle of water. Some people use a squeegee on an extension pole. Whatever you do, don't use abrasive cleaners or scrub hard enough to scratch the glass surface. Scratches scatter light and permanently reduce efficiency.
Check your connections every few months. Vibration from driving loosens wire connections over time. We've had a loose MC4 connector cause intermittent charging that we spent three days troubleshooting before finding the fix was a two-minute tightening. Pull on every connection by hand during your checks. If it moves, it's too loose.
Monitor your battery voltage daily, even with a battery monitor installed. A sudden drop in voltage at night (when nothing should be drawing power) can indicate a parasitic drain from a faulty device or a wire that's shorting somewhere. We found a phantom drain of 2 amps from a USB charger that was "off" but still pulling current. Replacing the $8 charger saved us 48 watt-hours per night.
Shading is the silent killer of solar output. Even a small shadow from a tree branch or antenna on one panel can drop the output of an entire series-connected string by 50 percent or more. If you're parking in a wooded campground, angle your van to maximize direct sun on the panels, even if it means the back of the van is in shade. Those few hours of full sun are worth more than the aesthetics of a perfectly level parking spot.
Common Solar Setup Mistakes We've Seen
After helping other van lifers troubleshoot their systems at campgrounds across the country, a few mistakes show up again and again.
Not using a fuse between the battery and inverter. This is the most dangerous mistake on this list. A short circuit in an unfused inverter circuit can start a fire in seconds. The fuse should be within 18 inches of the battery positive terminal. Use a Class T fuse or ANL fuse rated for your inverter's maximum draw. This is a $20 part that prevents a $30,000 van from becoming a burn scar.
Mounting panels without proper sealant. We've seen roof leaks from people who used silicone instead of butyl tape or Dicor self-leveling sealant. Silicone doesn't bond well to the rubber roof membranes on most cargo vans. Butyl tape is the correct product for flat bracket mounts. Dicor is for any horizontal surface where water can pool. Both are available at any RV supply store.
Oversized inverter for the battery bank. Running a 3000W inverter off a 100Ah battery sounds fine on paper but the current draw at full load would deplete the battery in minutes and could damage it. A 100Ah lithium battery can safely deliver about 100 amps continuous, which means a 1200W inverter at 12V is the practical maximum. If you want a bigger inverter, you need a bigger battery.
Skipping the battery monitor. A simple Victron BMV-712 ($170) tells you exactly what's happening with your battery: voltage, current, state of charge, and time remaining. Without one, you're guessing. We ran without a monitor for six months and killed a battery by running it too low. The monitor costs less than a replacement battery.
FAQ
How many solar panels do I need for a van?
For a basic setup running lights, phone charging, and a 12V fridge, two 100W panels (200W total) is the sweet spot. For a minimal weekend setup with just lights and phone charging, one 100W panel is enough. For heavy use with remote work, induction cooking, or multiple devices, go with 400W or more.
How long does a van solar system last?
Quality monocrystalline panels last 25 years or more with minimal degradation. Lithium batteries last 3,000 to 5,000 cycles (roughly 10 to 15 years of daily use). Charge controllers last 5 to 10 years. The panels are the longest-lasting component by far. Most system failures happen at connection points (loose wires, corroded terminals) rather than in the panels themselves.
Can I run my van fridge on solar?
Yes, and most van lifers do. A 12V compressor fridge like the ARB Zero or F40 draws about 40 to 60 watt-hours per hour when running, averaging about 400 to 800 watt-hours per day depending on ambient temperature. A 200W solar system with a 100Ah lithium battery handles this easily in sunny conditions. In extended overcast weather, you may need to supplement with a shore power hookup or generator.
What's the difference between PWM and MPPT charge controllers?
PWM controllers are cheaper ($20 to $50) and work well for small systems under 200W. They're simpler and more reliable because there are fewer electronics to fail. MPPT controllers ($100 to $300) are 15 to 30 percent more efficient, especially in low light or cold conditions. They're worth the investment for systems over 200W or for full-time van lifers who need every watt they can get.
Do I need a license or permit for a van solar setup?
No. Solar installations on vehicles don't require permits in any US state. Unlike a home solar system, there's no grid connection and no building code to satisfy. The main consideration is insurance. Some insurers may ask about electrical modifications. Having a professionally installed or well-documented DIY system with proper fusing is easier to explain to an insurance adjuster than a messy homemade job.
Plan Your Van Life Budget
Use our free calculator to estimate van life costs by state, based on real 2026 data.
Try the Cost Calculator